There is something oddly frustrating about connecting your laptop to a bigger screen, expecting everything to appear beautifully, and then being greeted by a stubborn black screen.
You plug in the adapter, reconnect the HDMI cable, wait a few seconds, and still nothing happens.
The monitor keeps displaying that familiar message: No Signal. Well, you’re certainly not alone in this little technology headache.
A USB-C to HDMI adapter not working problem can happen for several reasons. Sometimes the USB-C port doesn’t support video output.
In other situations, the HDMI cable is faulty, display settings are incorrect, or the adapter simply isn’t compatible with your device.
Even a seemingly perfect connection can refuse to cooperate, which is rather annoying when you’re preparing for an important presentation or trying to enjoy a movie.
The good news? Most USB-C to HDMI connection problems can be solved without replacing your laptop or spending money on expensive equipment. You just need to understand where the connection is failing and try the right solution.
In this guide, we’ll explore the most common causes of USB-C HDMI display issues, explain how DisplayPort Alt Mode and Thunderbolt work, and share practical fixes for Windows, macOS, and other compatible devices. Let’s get that external display working again!
Why Is Your USB-C to HDMI Adapter Not Working?
Before trying random fixes, it helps to understand how the connection actually works. A USB-C connector is a small, reversible port used for charging, transferring data, and sometimes transmitting video signals. However, not every USB-C port supports every one of these functions.
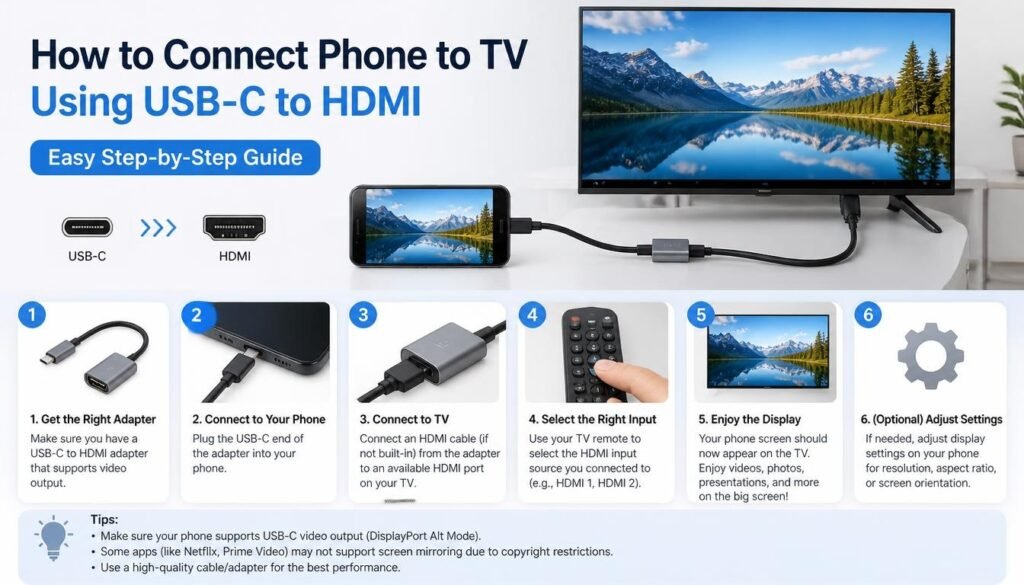
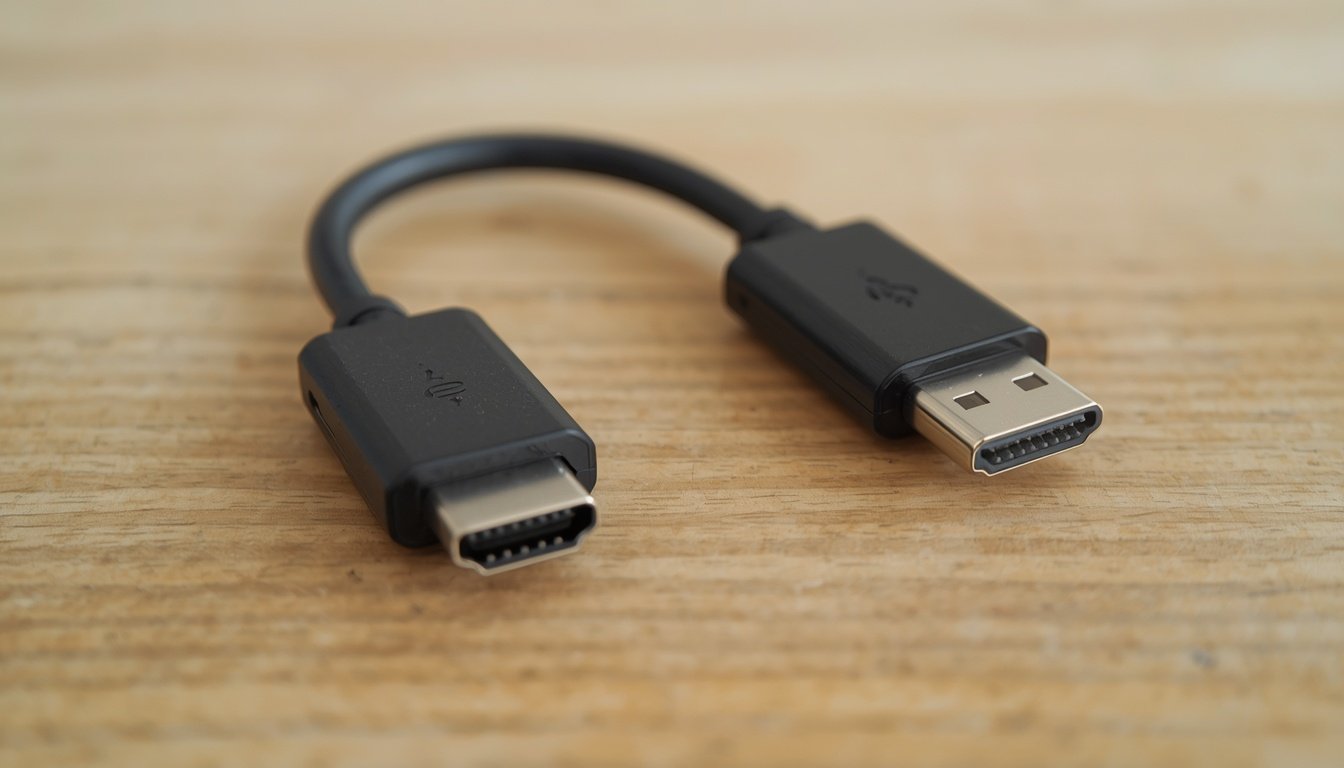
A USB-C to HDMI adapter converts a compatible video signal from your computer into an HDMI signal that a monitor, television, or projector can display.
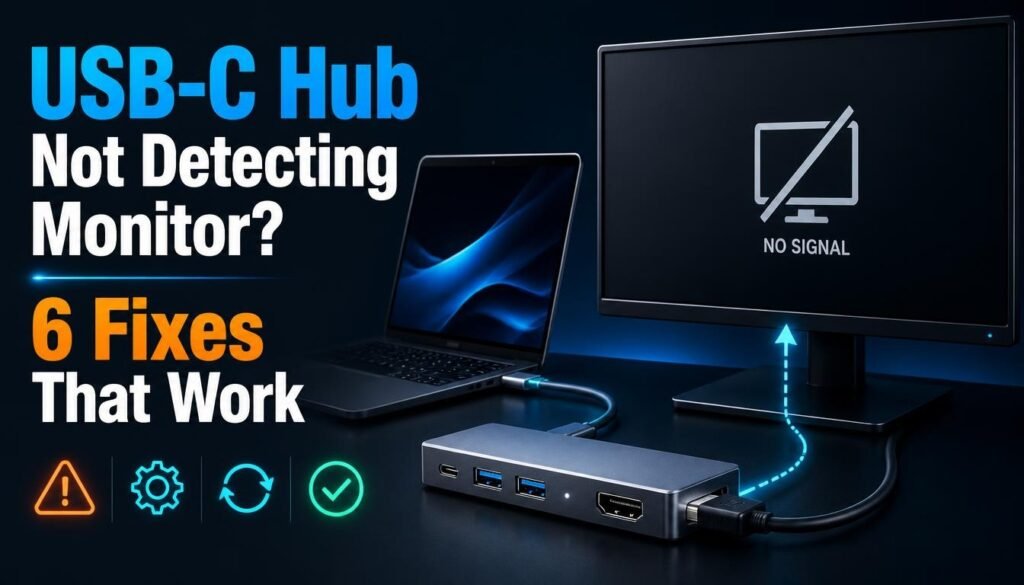
When something interrupts this process, you might experience a black screen, an undetected monitor, flickering images, or an HDMI no-signal warning.
Here are the most common reasons behind the problem:
- Your USB-C port doesn’t support video output.
- The adapter isn’t compatible with your laptop or tablet.
- The HDMI cable is damaged or improperly connected.
- Your computer has incorrect display settings.
- Graphics drivers are outdated or malfunctioning.
- The selected resolution or refresh rate isn’t supported.
- The adapter is overheating or experiencing signal instability.
- Your device has insufficient power or a hardware-related issue.
Identifying the actual cause makes troubleshooting much easier. Otherwise, you could spend half an afternoon changing settings when the real issue is simply an incompatible USB-C port.
1. Check Whether Your USB-C Port Supports Video Output
This is probably the most overlooked reason for a USB-C HDMI adapter not working. People often assume that every USB-C port can connect to an external monitor, but unfortunately, that isn’t how the technology works.
Although two USB-C ports may look exactly alike, their capabilities can be quite different.
Some support charging and data transfer only, while others also support video transmission through DisplayPort Alt Mode or Thunderbolt technology.
What Is DisplayPort Alt Mode?
DisplayPort Alternate Mode, commonly called DisplayPort Alt Mode, allows compatible USB-C ports to transmit DisplayPort video signals.
A USB-C to HDMI converter can then transform that signal into HDMI output for your external display.
If your laptop doesn’t support this feature, connecting an ordinary USB-C to HDMI adapter won’t produce an image. No amount of reconnecting or restarting will magically add video capabilities to a port that doesn’t have them.
How to Check USB-C Video Compatibility
- Visit your laptop manufacturer’s official website.
- Search for your exact laptop model and technical specifications.
- Look for terms such as DisplayPort Alt Mode, DisplayPort over USB-C, or Thunderbolt.
- Check the user manual for information about external display support.
- Examine the USB-C port markings, but remember that symbols alone aren’t always conclusive.
Some computers use a DisplayPort symbol beside compatible ports, while Thunderbolt ports may have a lightning-bolt marking.
Helpful tip: Thunderbolt 3 and Thunderbolt 4 support display connectivity, but the actual number of supported displays and available resolutions depends on the computer’s hardware and specifications.
If your USB-C port supports only charging and ordinary data transfer, you’ll need a different display solution.
2. Reconnect the HDMI Cable and Check Every Connection
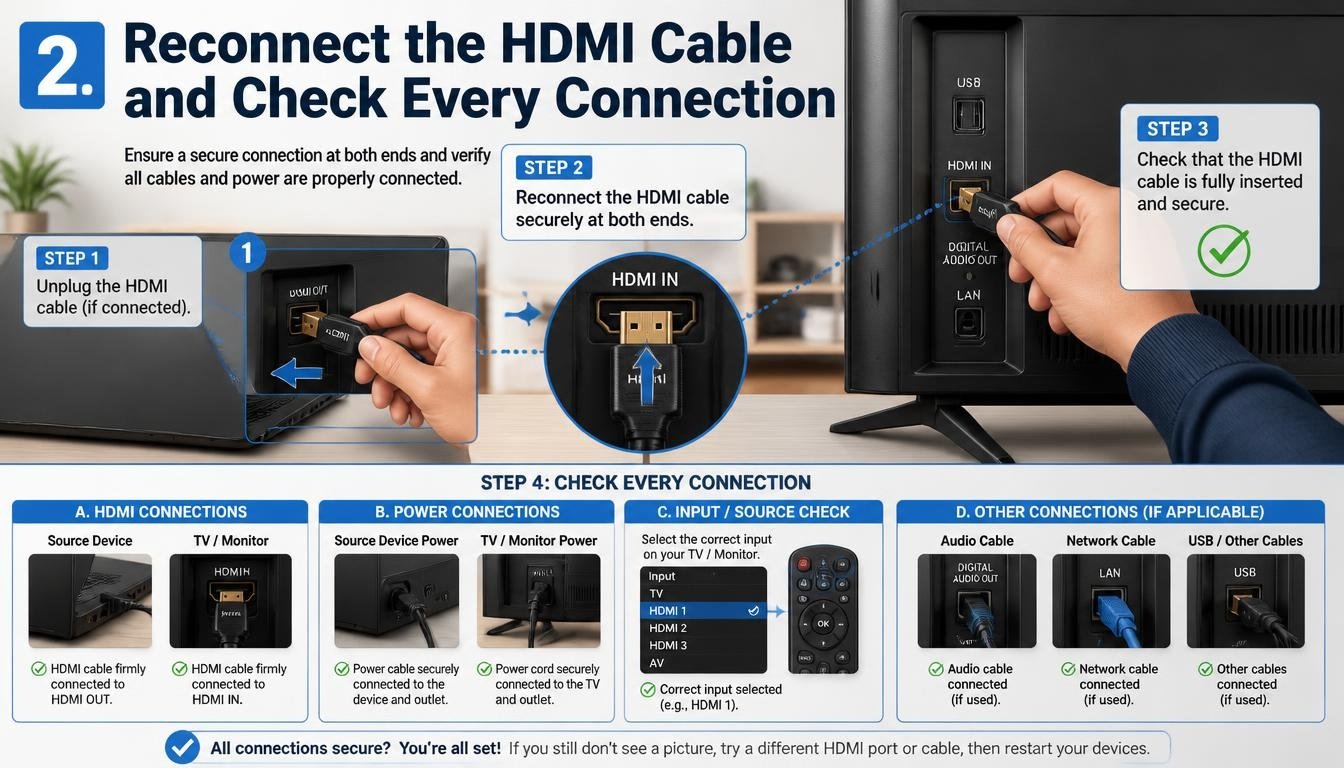
Sometimes, the explanation is surprisingly simple. A slightly loose HDMI cable can interrupt video transmission, leaving you staring at a blank screen.
It happens more often than you’d think, especially when a laptop is moved around while connected to an external monitor.
Before changing software settings, inspect the physical connections.
Try These Simple Connection Fixes
- Disconnect the USB-C adapter from your laptop.
- Remove the HDMI cable from both the adapter and monitor.
- Check the connectors for visible damage, dust, or debris.
- Reconnect the HDMI cable firmly at both ends.
- Plug the adapter back into the USB-C port.
- Wait a few seconds for your computer to recognize the display.
Also, make sure the monitor is switched on and set to the correct HDMI input.
For example, if your HDMI cable is connected to HDMI 2 but your monitor is displaying HDMI 1, it won’t show the laptop’s screen. The connection might be perfectly fine, but the monitor is simply looking at the wrong input.
Test Another HDMI Cable
A damaged cable can cause intermittent signal loss, flickering, or a complete black screen.
If possible, connect another HDMI cable to the same adapter and monitor. This is an easy way to determine whether the cable is responsible.
You can also connect a different HDMI device, such as a gaming console or another laptop, to the monitor.
Changing one component at a time makes it much easier to identify the faulty part.
3. Select the Correct Display Input on Your Monitor
An external monitor usually has multiple input options, including HDMI 1, HDMI 2, DisplayPort, and sometimes USB-C.
If the selected input doesn’t match the connected cable, your computer might appear to be experiencing a USB-C to HDMI no signal problem.
Here’s what to do:
- Switch on your external monitor.
- Open its menu using the physical buttons or joystick.
- Find the Input Source or Source option.
- Select the HDMI port where your adapter is connected.
- Give the monitor a few seconds to detect the signal.
Some monitors automatically detect connected devices, while others require manual input selection.
If your screen still displays No Signal, try another HDMI input if one is available.
It’s a tiny adjustment, admittedly, but it can save you from unnecessary driver updates and complicated troubleshooting.
4. Fix USB-C to HDMI Display Problems in Windows
Windows sometimes fails to recognize an external display automatically. This can happen after a graphics driver update, a system restart, or connecting an unfamiliar adapter.
Fortunately, Windows includes built-in tools for managing external displays.
Use the Windows Display Shortcut
Press Windows + P on your keyboard.
A display menu will appear with several options:
- PC screen only: Displays content on your laptop screen.
- Duplicate: Shows the same content on both screens.
- Extend: Uses the external monitor as an additional desktop.
- Second screen only: Displays content exclusively on the connected monitor.
Choose Duplicate or Extend, depending on what you’re trying to achieve.
If you’re using an external monitor for work, Extend is usually the more flexible option. You can keep your documents open on one screen and your browser on the other. Quite convenient, really.
Check Windows Display Settings
If the monitor remains undetected, open:
Settings → System → Display.
Scroll down to the Multiple Displays section and select Detect, if available.
Windows will attempt to identify connected displays.
If the external monitor appears, you can adjust its position, resolution, and display mode from the same menu.
Restart Your Computer
A simple restart can sometimes resolve temporary hardware detection problems.
Disconnect the adapter, restart Windows, and reconnect everything after the desktop has loaded.
This allows the operating system to initialize the display connection again.
5. Update Your Graphics Drivers
Outdated or corrupted graphics drivers can interfere with USB-C video output, particularly when connecting newer monitors or adapters.
Your computer’s graphics hardware needs appropriate software to communicate with external displays correctly.
If you’re experiencing a black screen, random disconnections, or an external monitor not detected issue, checking the graphics driver is a sensible next step.
How to Update Graphics Drivers on Windows
- Right-click the Start button.
- Open Device Manager.
- Expand the Display adapters category.
- Right-click your graphics device.
- Select Update driver.
- Follow the instructions provided by Windows.
You can also download compatible graphics drivers from your laptop manufacturer’s official support website.
For Intel, AMD, or NVIDIA graphics hardware, official manufacturer software may provide additional driver-management options.
Avoid downloading random driver packages from unfamiliar websites. An unofficial driver can create more problems than it solves, and that’s the last thing you need.
What About Older Windows Versions?
Older systems such as Windows 7, Windows 8, and Windows 10 may have different driver-management interfaces and varying levels of current manufacturer support.
Check your computer manufacturer’s compatibility information before installing a driver.
The important thing is to use software designed for your exact hardware and operating system.
6. Fix USB-C HDMI Problems on macOS
Mac users can also experience USB-C to HDMI adapter not working problems, even when the adapter appears to be connected correctly.
Sometimes macOS doesn’t immediately detect the external monitor. In other situations, the display settings are configured incorrectly.
Thankfully, macOS offers straightforward display-management options.
Open System Settings
Follow these steps:
- Click the Apple menu.
- Open System Settings.
- Select Displays.
- Check whether the external monitor appears.
- Adjust the display arrangement or mirroring options as needed.
Depending on your macOS version, some display options may appear in slightly different places.
If the monitor is not listed, disconnect the adapter and reconnect it.
You can also restart your Mac and check the display settings again.
Check Display Mirroring
If your Mac detects the external monitor but doesn’t display the desktop as expected, review the mirroring settings.
You can choose to mirror your Mac’s screen or use the external monitor as an extended desktop.
Mirroring is useful when giving presentations, while an extended desktop provides additional workspace.
Test Another USB-C Port
Some Mac models have multiple USB-C or Thunderbolt ports. Testing another compatible port can help identify a connection issue.
However, remember that capabilities vary by Mac model, so check the specifications rather than assuming every port has identical functionality.
7. Adjust the Resolution and Refresh Rate
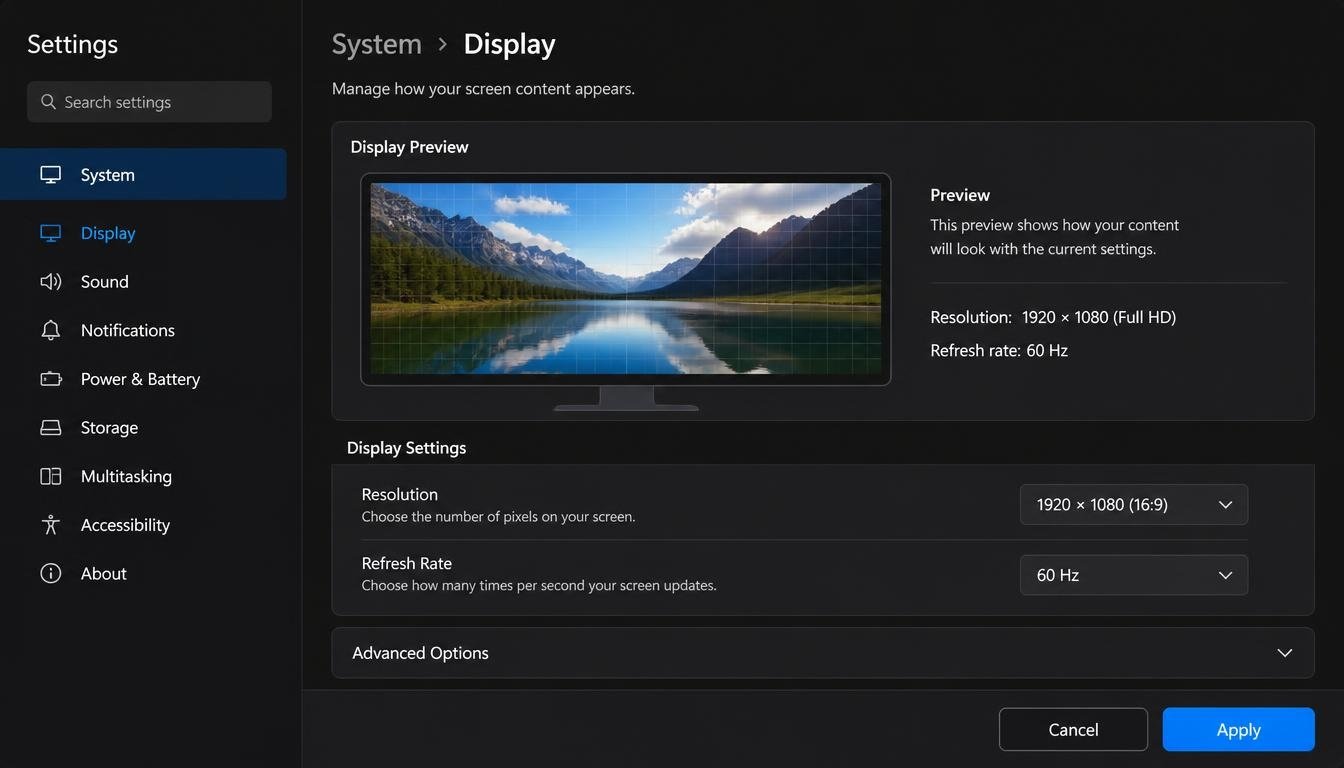
Not every USB-C HDMI adapter supports every resolution and refresh-rate combination.
This is particularly important when connecting a 4K monitor or a high-refresh-rate gaming display.
For example, an adapter might support 4K at 30 Hz but not 4K at 60 Hz. Another model may support Full HD at 60 Hz without difficulty.
When the selected display configuration exceeds the adapter’s capabilities, you may experience flickering, a black screen, or an unsupported signal warning.
Try a Lower Resolution First
If your USB-C HDMI adapter no display problem started after changing display settings, try selecting a more basic configuration.
A useful starting point is:
- Resolution: 1920 × 1080
- Refresh rate: 60 Hz
These settings are widely supported, although compatibility still depends on your monitor, computer, and adapter.
How to Change Resolution in Windows
- Open Settings.
- Select System.
- Choose Display.
- Select your external monitor.
- Find Display Resolution.
- Choose 1920 × 1080 if supported.
- Open Advanced Display to check the refresh rate.
Select 60 Hz if it is available and supported by your display.
How to Change Resolution on macOS
- Open System Settings.
- Select Displays.
- Choose your external monitor.
- Review the available resolution options.
- Select a compatible resolution.
If you’re using a 4K display, make sure the adapter, HDMI cable, monitor, and computer all support the desired video format.
The weakest component can become the limiting factor in the entire connection.
8. Check Whether Your USB-C to HDMI Adapter Is Overheating
Adapters are small, but they still have electronic components that generate heat during operation.
A little warmth is generally normal, especially when transmitting high-resolution video. However, excessive heat accompanied by flickering, random disconnections, or signal loss deserves attention.
An overheating adapter may become unstable after operating for some time.
Common Signs of Adapter Overheating
- The external display disconnects unexpectedly.
- The adapter becomes unusually hot.
- The monitor starts flickering after extended use.
- The connection works again after the adapter cools down.
- Video output becomes inconsistent during demanding display tasks.
What Can You Do?
Disconnect the adapter and allow it to cool naturally.
Avoid covering it with papers, fabric, or other objects that prevent heat from escaping.
Also, don’t leave it pressed against a laptop exhaust vent.
When choosing a replacement, consider a well-built adapter with appropriate thermal design. An aluminum alloy HDMI adapter can offer a durable enclosure and help spread heat, although its actual thermal performance depends on the internal design.
A metal body alone doesn’t guarantee better cooling, so product specifications and independent reviews still matter.
9. Check Power and Battery Levels
Although HDMI video transmission doesn’t always require a separate power connection, some laptop configurations can behave differently when running on a low battery.
Power-saving modes may reduce system performance or change how connected accessories operate.
If your monitor keeps disconnecting, try connecting your laptop to its original power adapter.
Then check whether the external display becomes stable.
You should also review battery-saving settings if the problem happens mainly when the computer is unplugged.
For adapters that include additional USB-C power-delivery ports, use a compatible charger and follow the manufacturer’s instructions.
Remember, an ordinary USB-C HDMI adapter and a powered USB-C hub aren’t necessarily designed to operate in the same way.
10. Disconnect Other Accessories and Test Again
USB-C hubs are convenient because they allow you to connect several devices through one port.
However, connecting too many accessories can sometimes introduce compatibility or power-management problems.
For example, your setup might include:
- An external monitor.
- A USB keyboard.
- An external mouse.
- A portable SSD.
- A USB-C charging cable.
- A memory card reader.
If the display stops working with all these accessories connected, simplify the setup.
Disconnect everything except the USB-C to HDMI adapter and monitor.
If the external display works now, reconnect the accessories individually.
This helps identify whether another connected device or the hub itself is contributing to the problem.
If you’re using a USB-C hub, check its specifications for simultaneous display, data, and power-delivery support.
11. Why Does Your USB-C HDMI Adapter Keep Disconnecting?
An adapter that works for five minutes and then disconnects can be particularly frustrating.
You might be watching a presentation, editing a document, or enjoying a video when the monitor suddenly goes black.
Several factors can cause these USB-C HDMI connection problems.
Possible Causes
- A loose USB-C connector.
- A damaged HDMI cable.
- An unstable adapter.
- Excessive heat.
- An incompatible USB-C port.
- Outdated graphics software.
- An overloaded hub.
- Physical movement around the connection.
Practical Solutions
Start by checking whether the USB-C connector fits securely into the laptop.
If moving the cable slightly causes the screen to disconnect, the connector, cable, or port may be damaged.
Next, try another HDMI cable and USB-C port, provided the alternative port supports video output.
If the problem continues, test the adapter with another compatible computer.
This final test is particularly useful because it helps distinguish between a laptop issue and an adapter-related fault.
Avoid repeatedly forcing a loose connector into place. If the port is physically damaged, have it inspected by a qualified technician.
12. Choose a Reliable USB-C to HDMI Adapter
Sometimes troubleshooting reveals that the adapter itself is the problem.
A cheap or incompatible model might work with one laptop but fail with another. That’s why choosing an adapter based only on its appearance or price isn’t a great idea.
A reliable USB-C to HDMI adapter should match your device’s video-output capabilities and your monitor’s requirements.
Important Features to Consider
Video resolution support
Check whether the adapter supports Full HD, 4K, or your preferred display resolution.
If you want 4K at 60 Hz, make sure the complete connection supports that combination.
DisplayPort Alt Mode compatibility
Your adapter should support the video-output technology used by your computer.
A standard USB-C connector doesn’t automatically mean universal display compatibility.
Plug & Play functionality
A Plug & Play HDMI adapter is convenient because compatible devices can usually recognize it without requiring separate driver installation.
However, Plug & Play doesn’t overcome hardware incompatibility.
Build quality
Look for durable connectors, reliable cable construction, and a properly designed enclosure.
An aluminum alloy adapter may be appealing for users who travel frequently or want a compact accessory that can handle everyday use.
Operating system compatibility
Check the manufacturer’s compatibility information for Windows, macOS, and Chrome OS.
Don’t assume that every adapter supports every operating system simply because it uses USB-C.
Is the LENTION CB-4KHDMI Worth Considering?
The LENTION USB-C to 4K HDMI Digital AV Adapter, including the CB-4KHDMI model, is an example of a product to investigate when comparing compact USB-C display adapters.
Before purchasing, verify the exact model’s supported resolution, refresh rate, operating-system compatibility, and connection requirements.
Also confirm that your laptop supports USB-C video output through DisplayPort Alt Mode or another compatible display technology.
A driver-free, lightweight design can be useful for everyday office work, presentations, and travel, but the specifications matter more than the marketing description.
The best adapter is the one that matches your hardware, not necessarily the one with the longest feature list.
13. Does a USB-C to HDMI Adapter Require Drivers?
This is another common question, particularly among people who have recently purchased their first USB-C display adapter.
Most standard USB-C to HDMI adapters that use DisplayPort Alt Mode are designed to work without separate adapter drivers.
Your computer handles the video output through its existing graphics hardware and operating-system support.
However, certain USB display adapters use technologies that require additional software.
For example, some USB-based display solutions rely on specialized graphics drivers rather than native DisplayPort video output.
Before installing anything, check the manufacturer’s documentation.
If your adapter is advertised as driver-free, installing an unrelated driver package is unlikely to help.
In fact, it could complicate an otherwise straightforward connection.
14. How to Diagnose USB-C HDMI Problems Step by Step
If you’ve tried several fixes and still haven’t found the problem, take a more systematic approach.
Rather than changing everything at once, test one component at a time.
Here’s a practical troubleshooting routine.
- Step 1: Confirm that your USB-C port supports video output.
- Step 2: Check the adapter’s compatibility with your computer.
- Step 3: Inspect the USB-C and HDMI connectors.
- Step 4: Select the correct HDMI input on your monitor.
- Step 5: Restart your laptop and external display.
- Step 6: Open Display Settings and detect the monitor.
- Step 7: Update your graphics drivers if necessary.
- Step 8: Try 1920 × 1080 at 60 Hz.
- Step 9: Connect another HDMI cable.
- Step 10: Test the adapter with another compatible device.
This approach makes troubleshooting less confusing.
For instance, if the adapter works perfectly with another laptop, the problem is more likely related to your original computer’s port, settings, or software.
If it fails with multiple compatible devices, the adapter or HDMI cable becomes a stronger suspect.
15. Common USB-C to HDMI Problems and Their Quick Fixes
Sometimes you don’t need a lengthy troubleshooting session. You just want to know what a particular symptom means and what to try first.
The following table provides a quick reference.
| Problem | Possible cause | Recommended fix |
| HDMI says No Signal | Wrong input or unsupported USB-C port | Check input and port compatibility |
| Black screen | Incorrect resolution or failed detection | Restart and use a supported resolution |
| Monitor not detected | Display settings or driver issue | Detect display and update drivers |
| Screen flickering | Cable or signal instability | Test another HDMI cable |
| Random disconnections | Loose connector or overheating | Check connections and adapter temperature |
| 4K not working | Resolution or bandwidth limitation | Verify 4K and refresh-rate support |
| Adapter not recognized | Incompatible port or faulty adapter | Check specifications and test another device |
| Works intermittently | Physical damage or unstable connection | Inspect and replace faulty components |
Keep this table handy if you regularly connect your laptop to external monitors.
It can make the next troubleshooting session a whole lot quicker.
16. Frequently Asked Questions About USB-C to HDMI Adapters
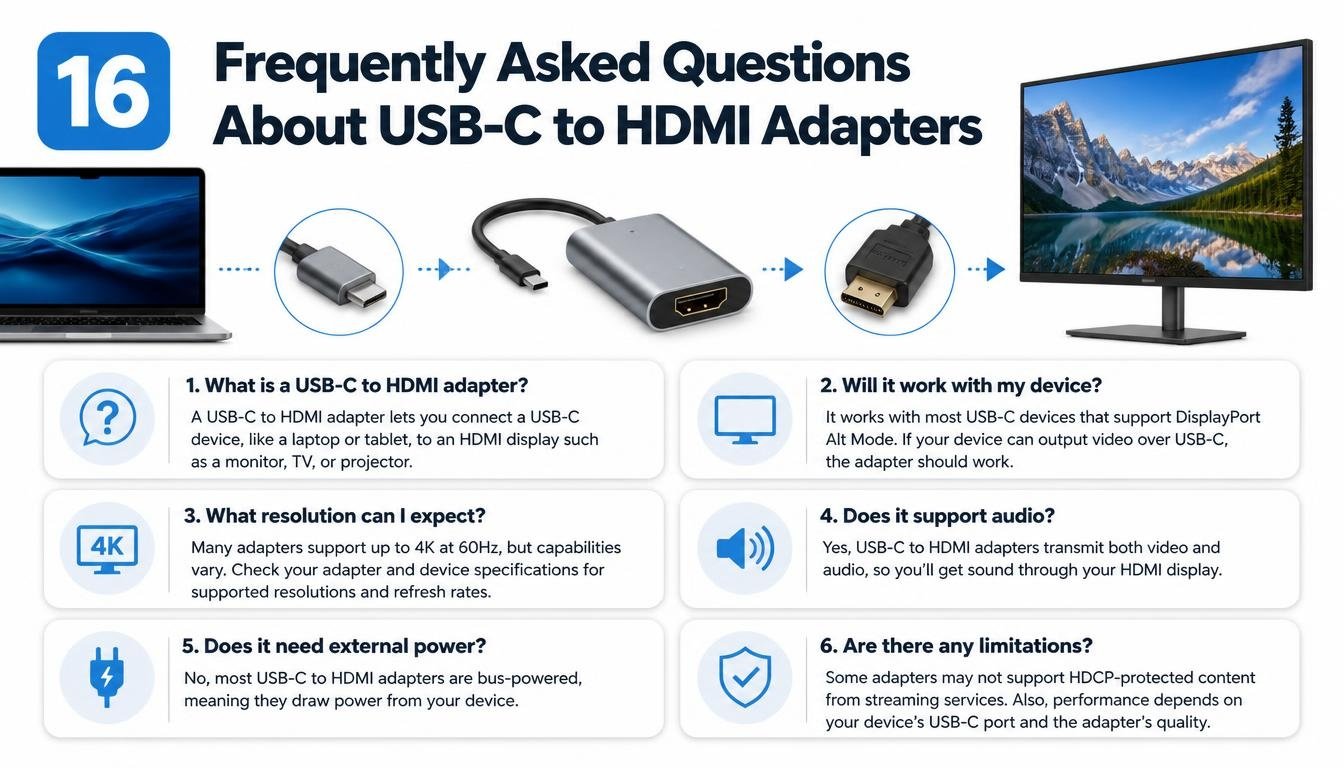
Why Is My USB-C to HDMI Adapter Not Displaying Anything?
The most common reason is that your USB-C port doesn’t support video output. Other possibilities include an incompatible adapter, incorrect monitor input, a faulty HDMI cable, or incorrect display settings.
Start by checking DisplayPort Alt Mode support and confirming that the monitor is set to the correct HDMI input.
Does Every USB-C Port Support HDMI Output?
No. USB-C describes the connector type, not every function the port supports.
Some USB-C ports support charging and data transfer only, while others support video through DisplayPort Alt Mode or Thunderbolt.
Always check your device’s technical specifications before buying an adapter.
How Do I Fix USB-C to HDMI No Signal on Windows?
First, verify that the USB-C port supports video output.
Then reconnect the adapter, select the correct HDMI input, press Windows + P, and choose Duplicate or Extend.
If the monitor remains undetected, open Windows Display Settings and try detecting the external display.
Can I Connect a 4K Monitor Using a USB-C HDMI Adapter?
Yes, provided your laptop, adapter, HDMI cable, and monitor all support the desired 4K resolution and refresh rate.
Some adapters support 4K at 30 Hz, while others support 4K at 60 Hz or higher.
Check the specifications of every component before purchasing.
Do USB-C HDMI Adapters Work With macOS?
Many USB-C to HDMI adapters work with compatible Macs.
However, the Mac must support external video output through the relevant USB-C or Thunderbolt connection, and the adapter must support the required display specifications.
You can check connected displays through System Settings → Displays.
Why Does My USB-C HDMI Adapter Work on One Laptop but Not Another?
Different laptops have different USB-C capabilities.
One may support DisplayPort Alt Mode, while another supports only charging and data transfer.
Graphics hardware, operating-system support, and adapter compatibility can also influence the result.
Can a Faulty HDMI Cable Cause a Black Screen?
Absolutely. A damaged or incompatible HDMI cable can interrupt video transmission, causing a black screen, flickering, or a No Signal message.
Try another cable to determine whether the original one is responsible.
Read More: https://techbiton.com/monitor-stuck-at-1080p-through-usb-c-hub/
Final Thoughts: Get Your External Display Working Again
A USB-C to HDMI adapter not working issue can make an otherwise ordinary task feel unnecessarily complicated. But in most cases, the solution is much simpler than it first appears.
Start with the basics. Check whether your USB-C port supports DisplayPort Alt Mode, inspect your HDMI connections, select the correct monitor input, and review your computer’s display settings.
If those steps don’t help, move on to graphics driver updates, resolution adjustments, and adapter compatibility checks.
Most importantly, don’t assume that every USB-C port supports video output or that every HDMI adapter works with every laptop. Understanding these small technical differences can save you time, money, and a fair bit of frustration.
When choosing a replacement, prioritize genuine compatibility, reliable video transmission, appropriate resolution support, and durable construction.
Features such as a lightweight design, Plug & Play functionality, and an aluminum alloy enclosure can be useful, but they should come after the essential technical requirements.
And remember, a black screen doesn’t always mean something expensive has broken. Sometimes it’s just the wrong input, a loose cable, or one overlooked setting.
If you’ve experienced a USB-C HDMI connection problem, share what caused it and which solution worked for you. Your experience might help another person get their external monitor working without spending hours searching for answers.